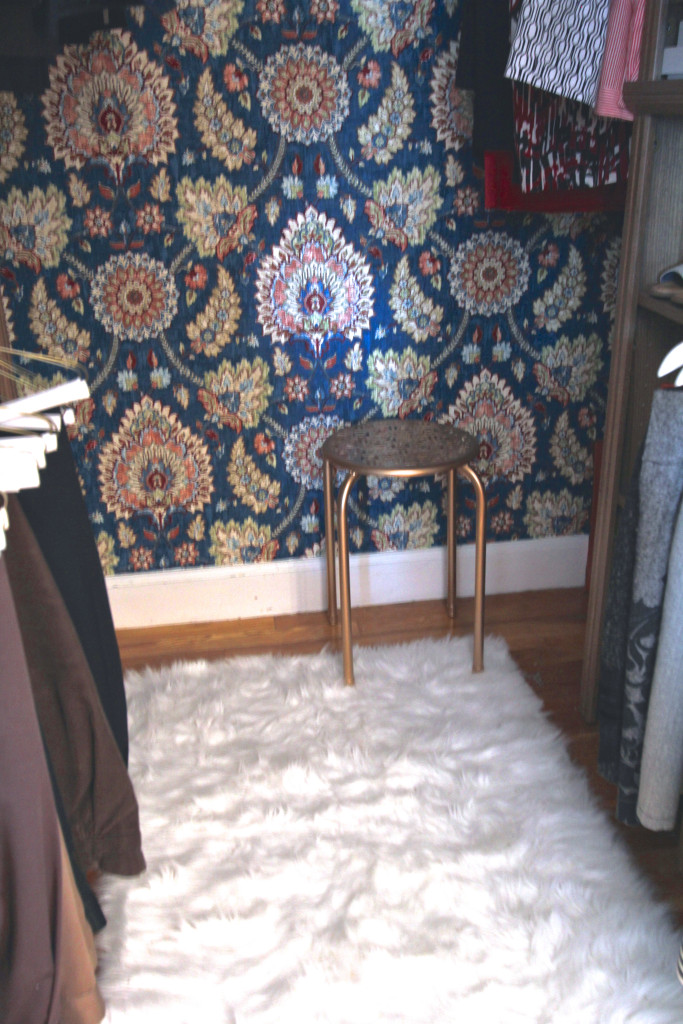
DIY: how to use fabric as wallpaper
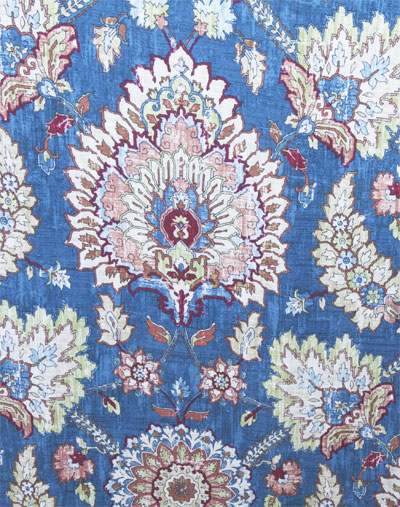
My master bedroom closet just did not feel complete without some color. I had thought at first to either paint or stencil the back wall since that is the main view you have when opening the closet door. The problem was I’ve already done that. I wanted to try something new. I decided to jump on the wallpaper bandwagon, just not entirely. First I need to back up a bit. I saw some fabric on Tonic Living (one of my favorite sites to browse fabric online) and couldn’t get it out of my head. This happens a lot. I then saw a couple of ideas on Pinterest that showed how to use fabric as wallpaper.
The instructions seemed pretty easy and straightforward. All that was needed was basically fabric and liquid starch. Here is where I ran into my one and only problem. I couldn’t find liquid starch anywhere. I looked online and it is available at Wal-Mart which is about 45 minutes away, not counting traffic. I could have ordered it online but I’d pay more in shipping than the actual bottle of starch. So I went old school. Cornstarch and water. I would be making a paste out of cornstarch which would act as the glue.
I wasn’t sure if it would work but cornstarch is now my new best friend.
I started off by making the cornstarch paste since it required some cooking and cooling before I could apply it to my walls. It cooled pretty quickly so by the time I had the fabric positioned on the wall I was ready to apply the cornstarch paste.
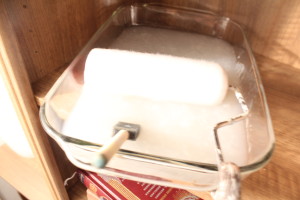
First I boiled 4 cups of water. While it was boiling I mixed 3/8 cup cornstarch with a little water, just enough to dissolve all the powder. I then slowly added this mixture to the boiled water, making sure I was stirring at the same time. I lowered the temperature a little and boiled and stirred until it had the consistency of a thick gravy. I poured it out in a glass dish to cool. This dish also acted as my painting tray. I apologize for the pictures in advance. This stuff is sticky and messy. Which also means it worked!
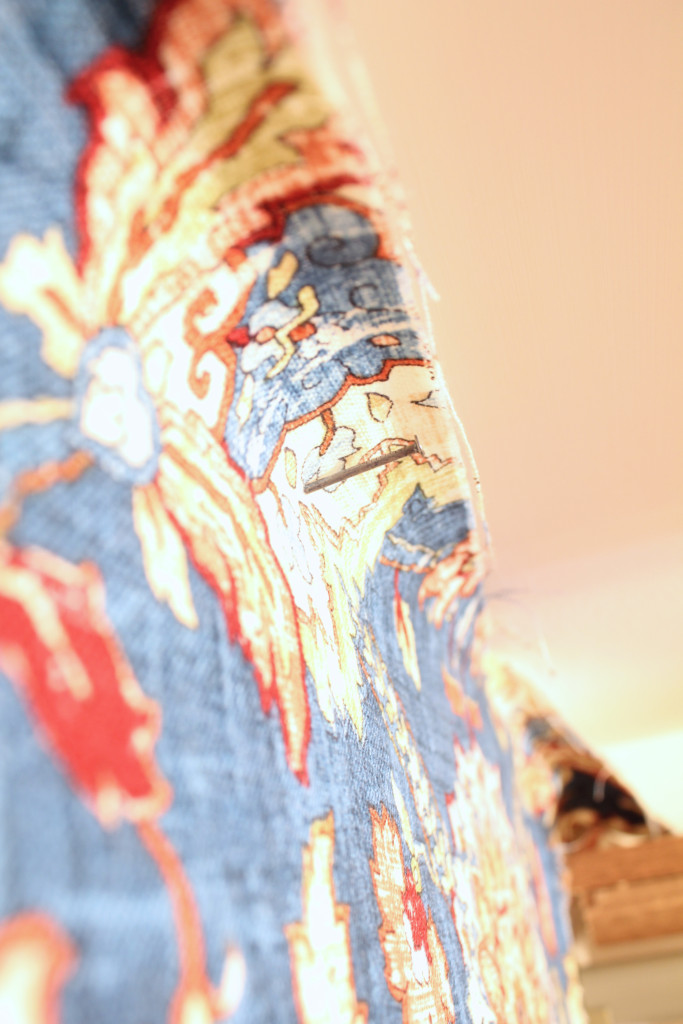
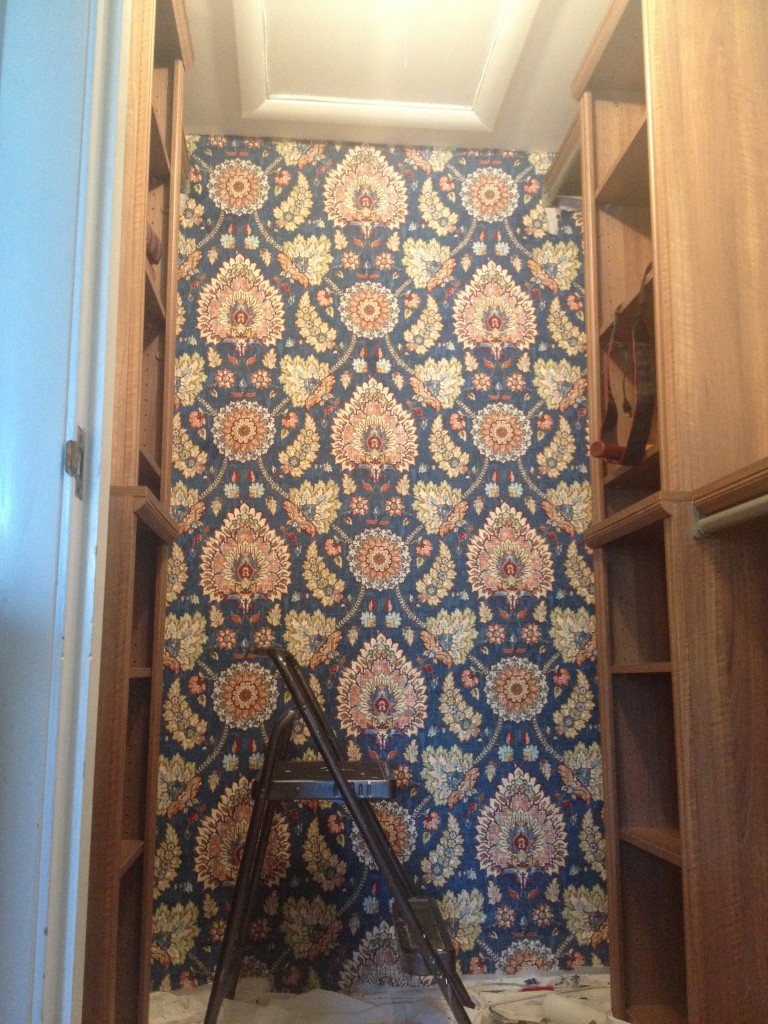
So while this was all cooling I attached the fabric to the wall. I used nails to hang the fabric up since tacks would not have been secure enough for me. The nails were not hammered all the way in. Just enough to hold the fabric on. When I was done I was able to just pull the nails out by hand.
I centered my fabric along the wall and made sure it was level. I also made sure that there was enough fabric at the top and bottom so that I could trim it when it was dry. The cornstarch paste does cause it to constrict a bit so I didn’t want a big white stripe at the top!
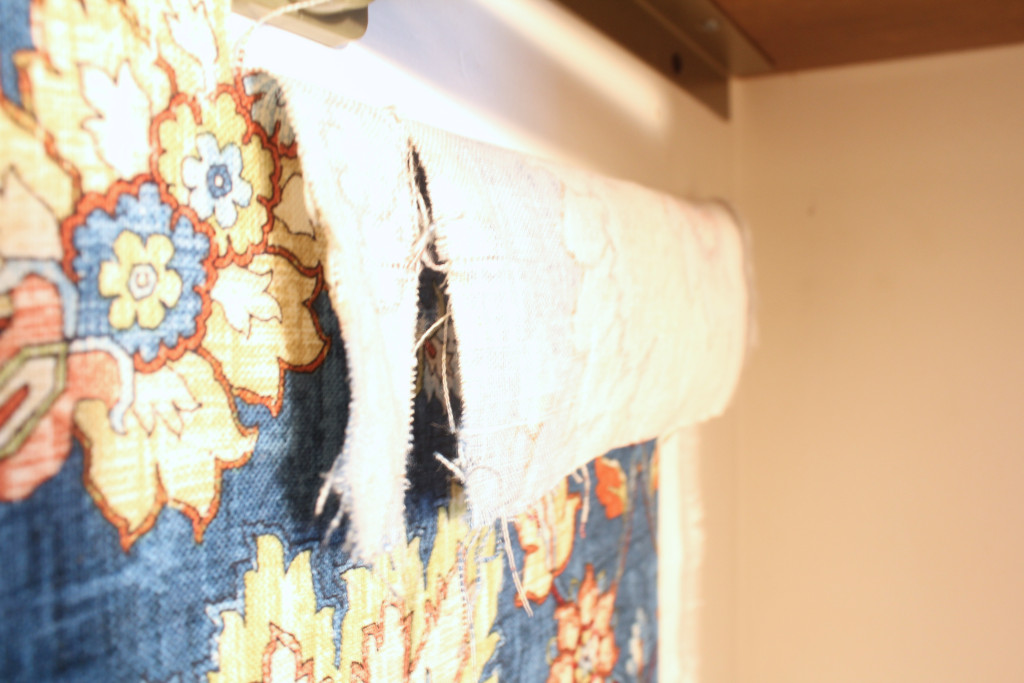
Once the fabric was securely fastened to the wall with about 8 nails along the top and sides I started work on the cutouts. I cut vertically using an exacto blade where the closet attachments were. Once the paste was applied to the walls I knew I could secure those strips in place I then make the horizontal cuts when everything was 100% dry.
I also placed some nails in the very center of the fabric, four in total. I would be pasting one side at a time and I did not want the pattern to shift on the wall at all. I removed the nails from the left side and started pasting. I used a foam brush for the very top and corners. I used a foam roller brush for the majority of the wall. Again no pictures because this was a two-handed job. It is a very doable project for just one person. It took me about 10 minutes to paste down this one panel of fabric.
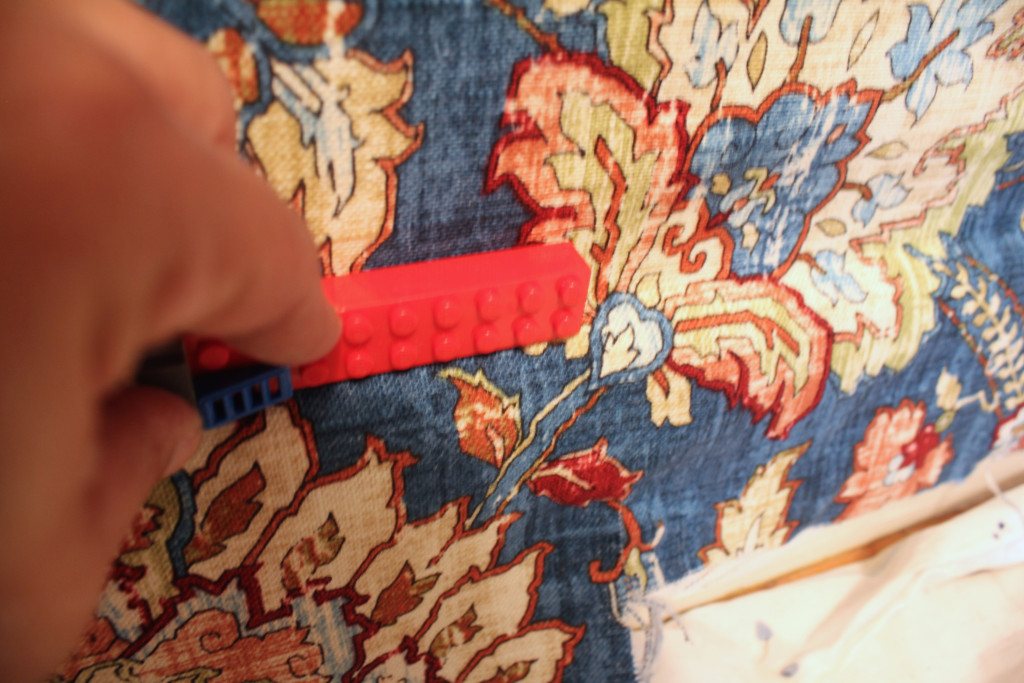
As the fabric was going down in sections I made sure to smooth out any bubbles. I used a Lego to seal down the corners. I also used it to crease the fabric to the wall along the baseboard. Very professional isn’t it?
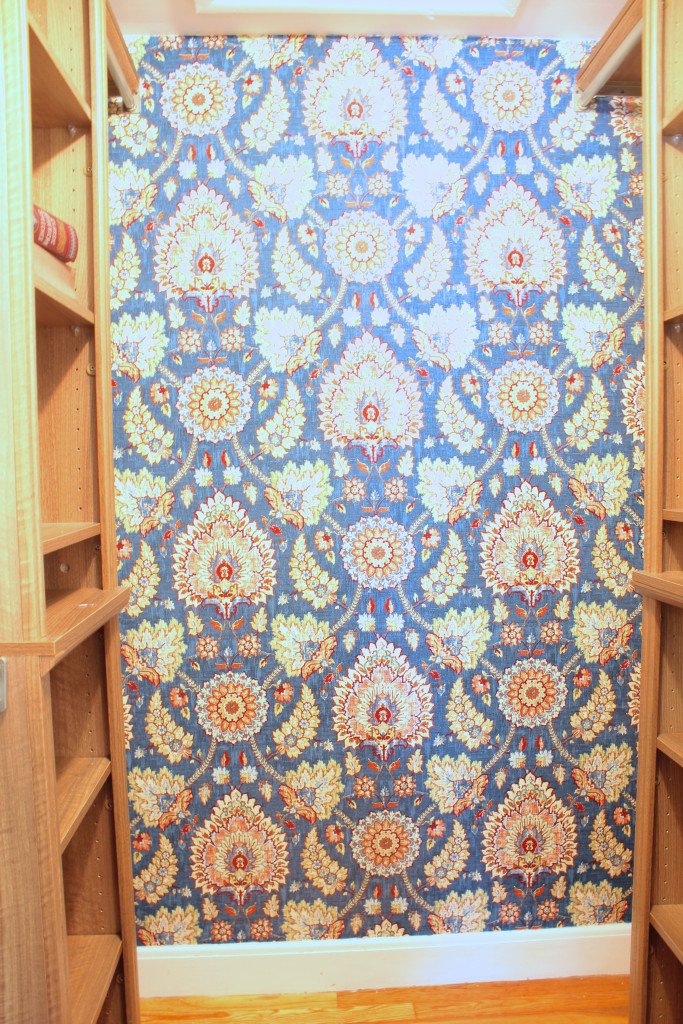
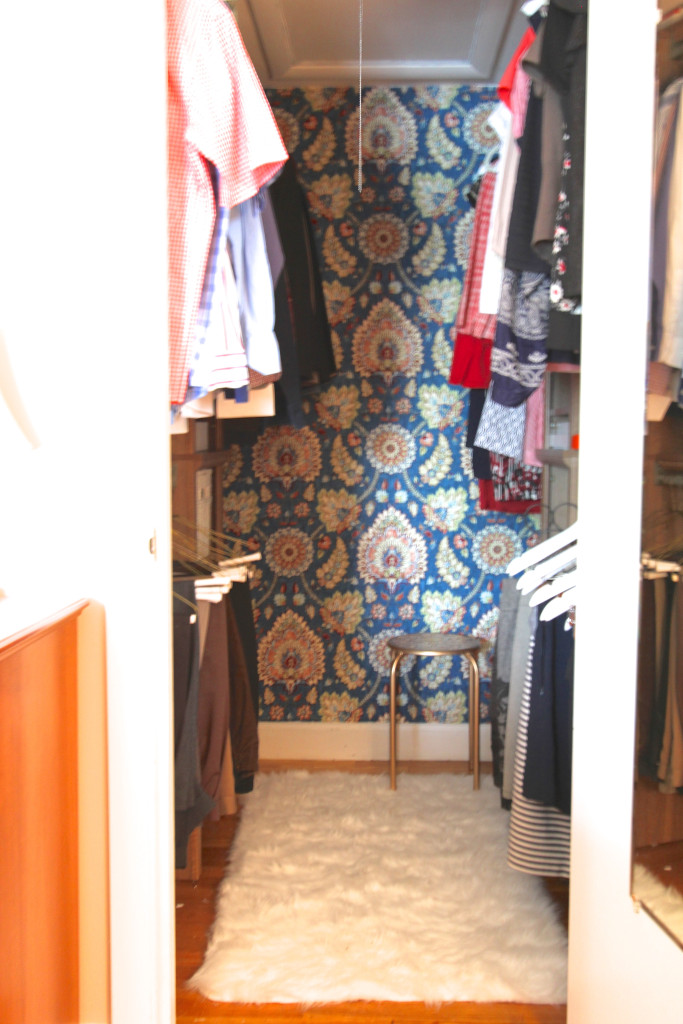
I then let it dry overnight. All that was left was to trim the top and bottom. I wanted it perfectly dry in order to do that. I only needed to place one panel of fabric on this wall since my closet is not that wide. The fabric does not go all the way to the wall on each side. There is about three inches of “non-wallpapered wall” but you can’t even tell. Once the clothes are hanging it will be even less visible. If I had needed to do more I would have just lined up the pattern and pasted another panel on.
The next morning I trimmed the top and bottom of my wall, as well as the cutouts around the closet system. It came out looking like I installed the wallpaper before the closet system. Once the paste is dry it hardens the fabric so that it is like cutting a piece of construction paper. The excess fabric then just pulls off the wall. Make sure your exacto blade is brand new so you get a sharp cut!
When you get tired of the look you can gently pull it off the wall. You will need to use a damp sponge to clean off any cornstarch paste residue. I did not wash my fabric beforehand but others recommended doing this. I think it is only necessary if you have a thinner fabric where the colors might run. Do a test swatch on your wall first to make sure. This fabric was an upholstery fabric so it is on the heavier side. It is holding up great with the cornstarch paste. This is a fun and easy decorating solution for so many spaces; a child’s bedroom, an accent wall, a closet but especially for renters! If you want something easy and temporary this is the DIY project for you!
Thank you to Tonic Living for collaborating with me on this post!
Share this:

Subscribe to Posts
Thanks for subscribing!
A Little History
Blog Policies
For more information on all blog policies regarding comments, advertising, copyright, sponsored links, guest submissions, and other matters, please look here.
