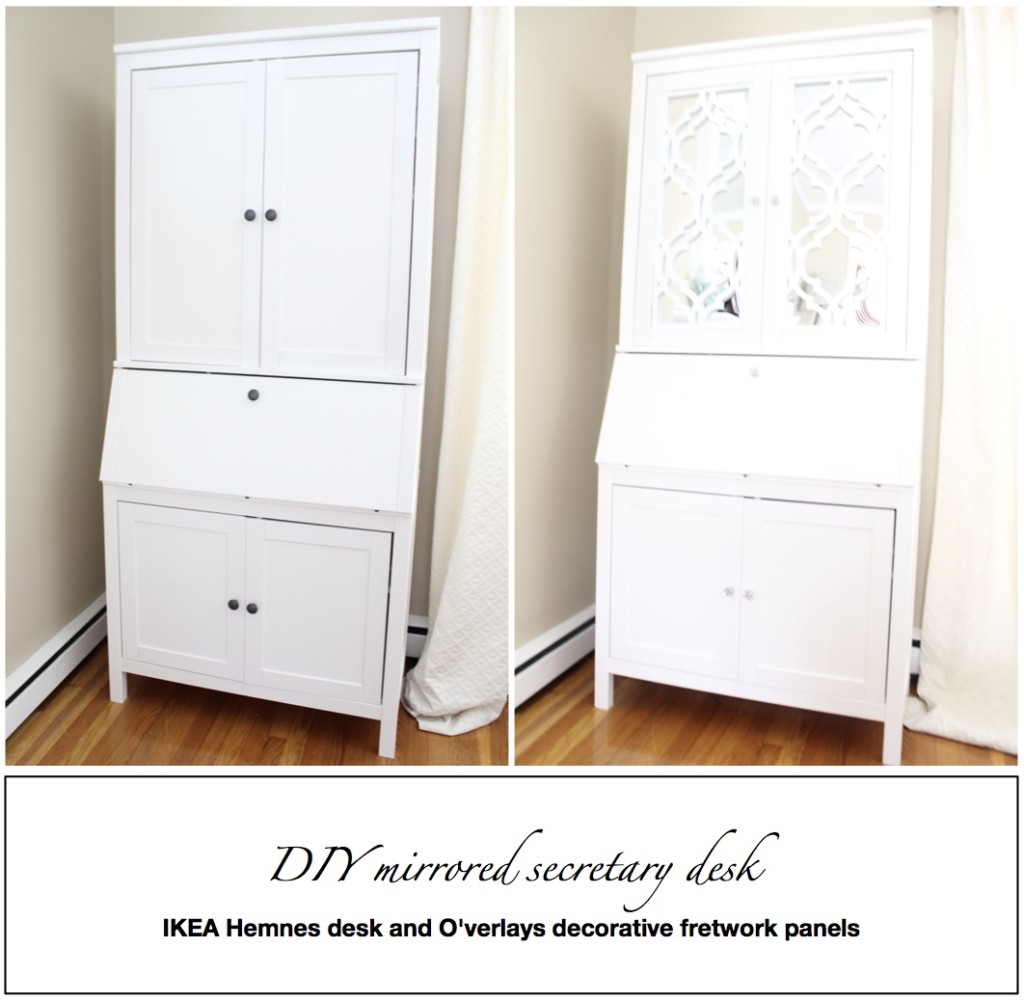
DIY mirrored secretary desk…
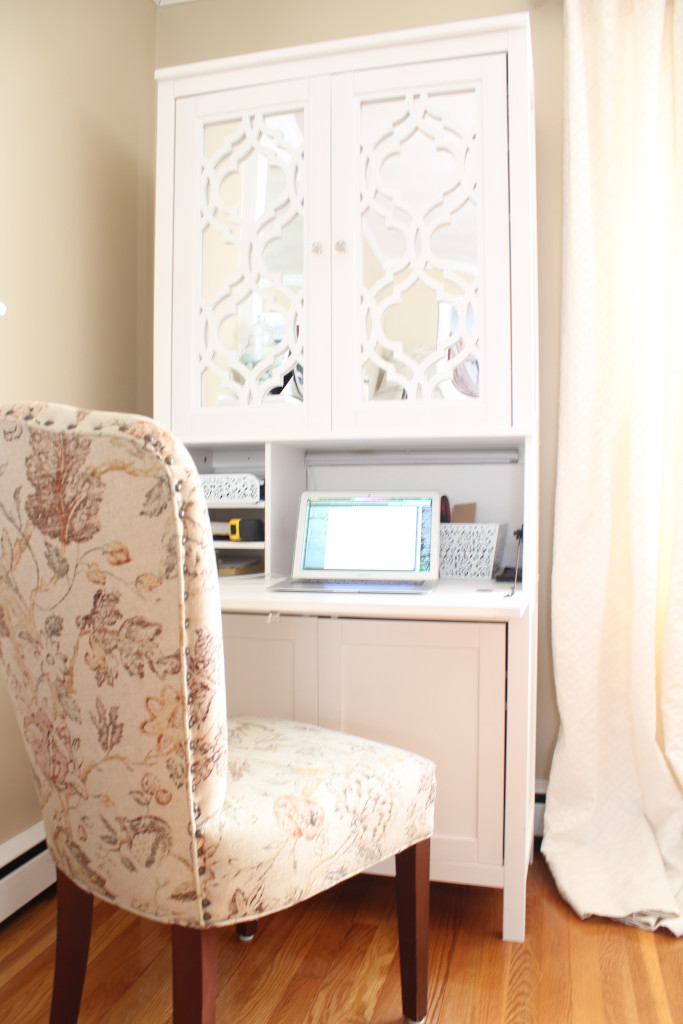
A couple of months ago I purchased the Hemnes secretary desk from IKEA as my workspace. I needed a desk, storage, a place for a printer and plenty of room for ideas. This desk handled all of it. I can easily work in the living room and then pack “my office” up by simply closing the doors. Plenty of shelves and space for all my needs. Since it is sitting in my living room I felt that it needed to be dressed up a bit. I looked around and started up a office desk Pinterest board to get all my ideas in one place. Since I kept pinning desks with fretwork and mirrors I knew that a DIY mirrored secretary desk was the direction I was headed. It has a timeless look to it without being “too much.” I just needed to figure out how to do it.
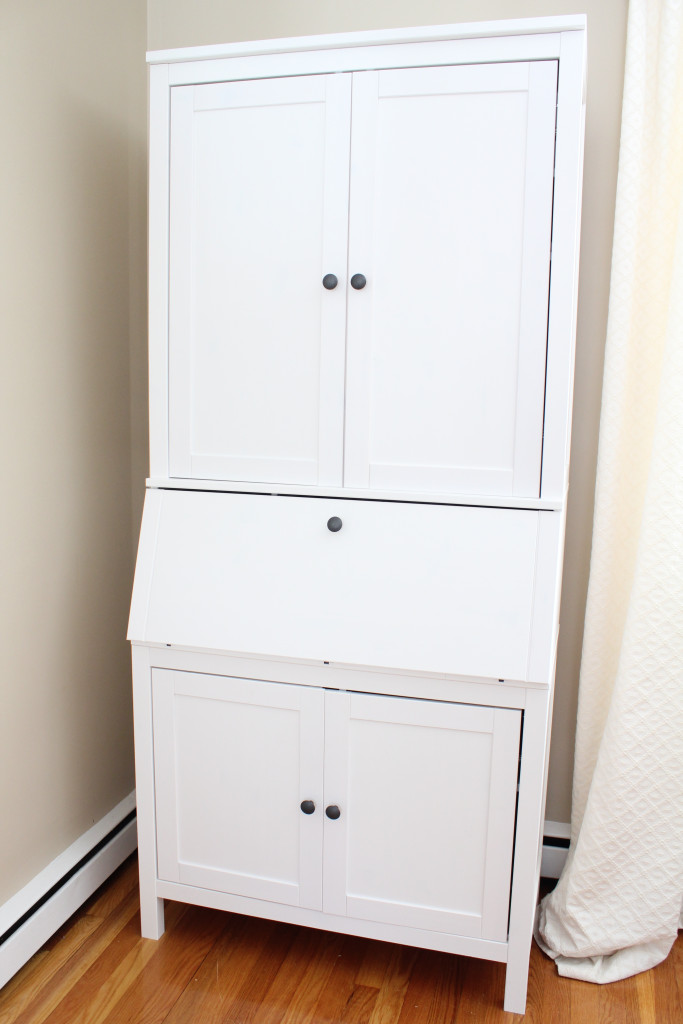
The plan was to cut out the two top doors and leave the frames intact. I would then attach a mirror and some sort of fretwork. The mirrored part seemed easy enough since I had just stumbled upon acrylic sheets of mirror at the hardware store. The acrylic sheets are much lighter (and less expensive) than an actual mirror. I was concerned that a glass mirror would cause the whole door to come crashing off since the IKEA doors are pretty lightweight to begin with. I purchased one 24 inch by 48 inch panel which I was able to cut myself. I scored it a couple of times with a box cutter and then snapped it along the scored line. It cut perfectly. This one sheet was enough for both door panels and then some.
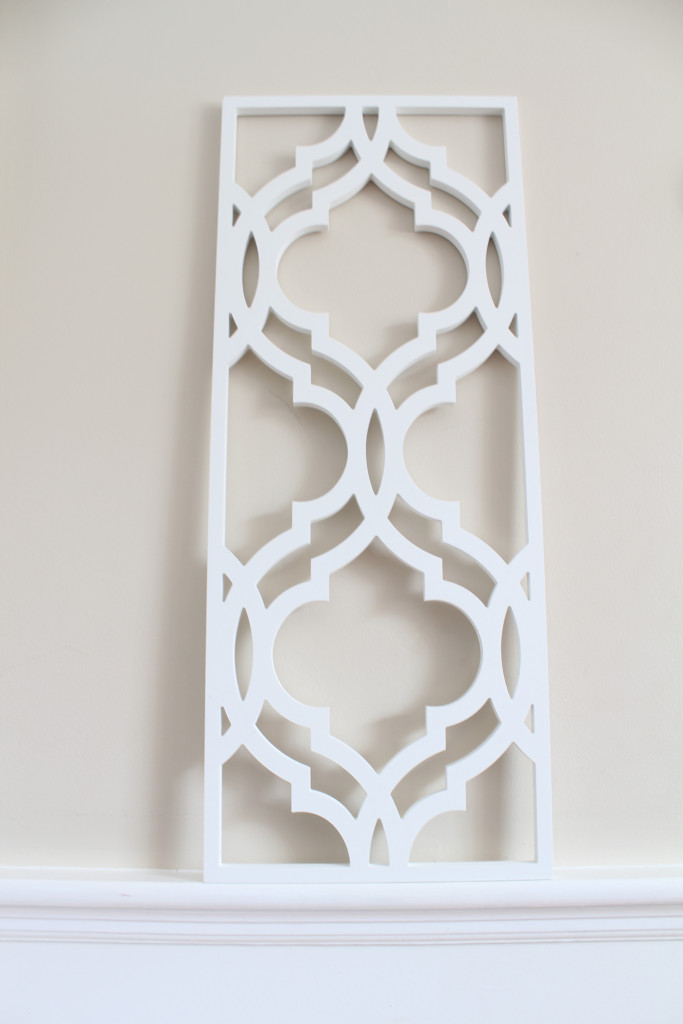
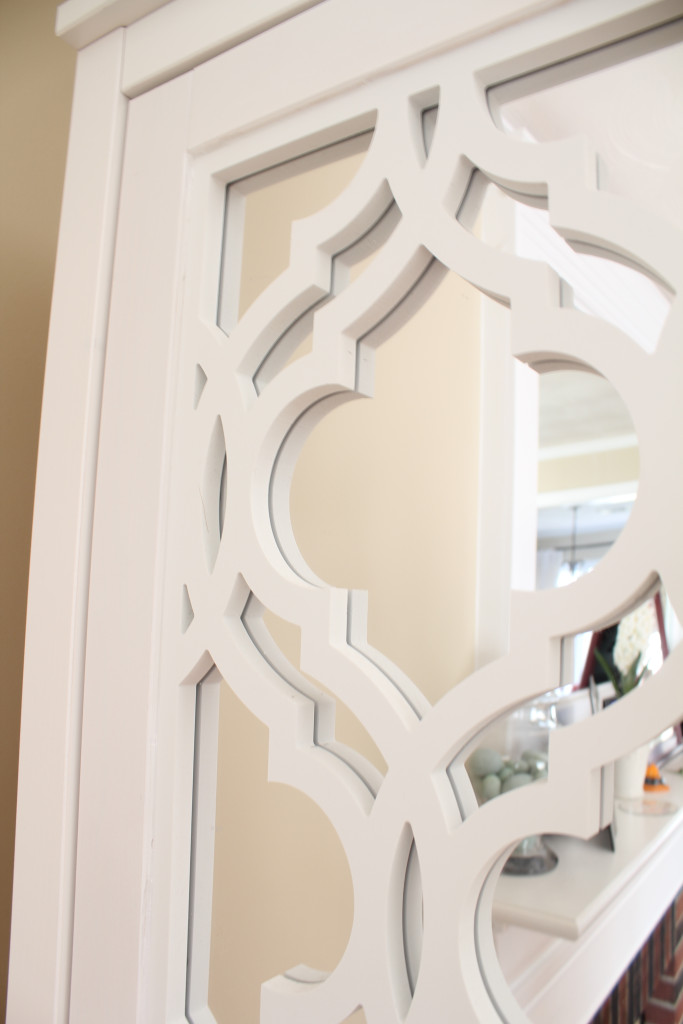
The tricky part was figuring out how to add the fretwork! This is where O’verlays came into the picture. They create lightweight decorative fretwork panels in all patterns and sizes. The panels are paintable and can easily be attached to any surface. They did not have the exact dimensions I needed but helped walk me through what sizes would best work for this project. O’verlays then created custom sized panels for me in the Khloe pattern. I went with the 1/2 inch thick panels that measured 11 5/8 wide by 28 3/8 tall. The panels arrived quickly, fit perfectly and I was able to get to work.
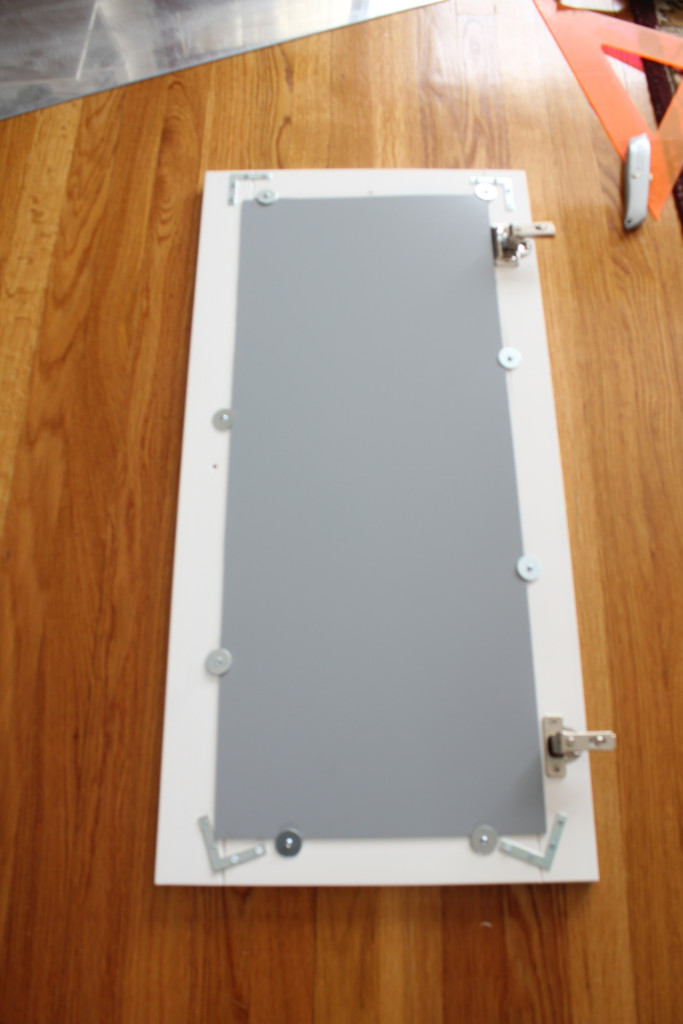
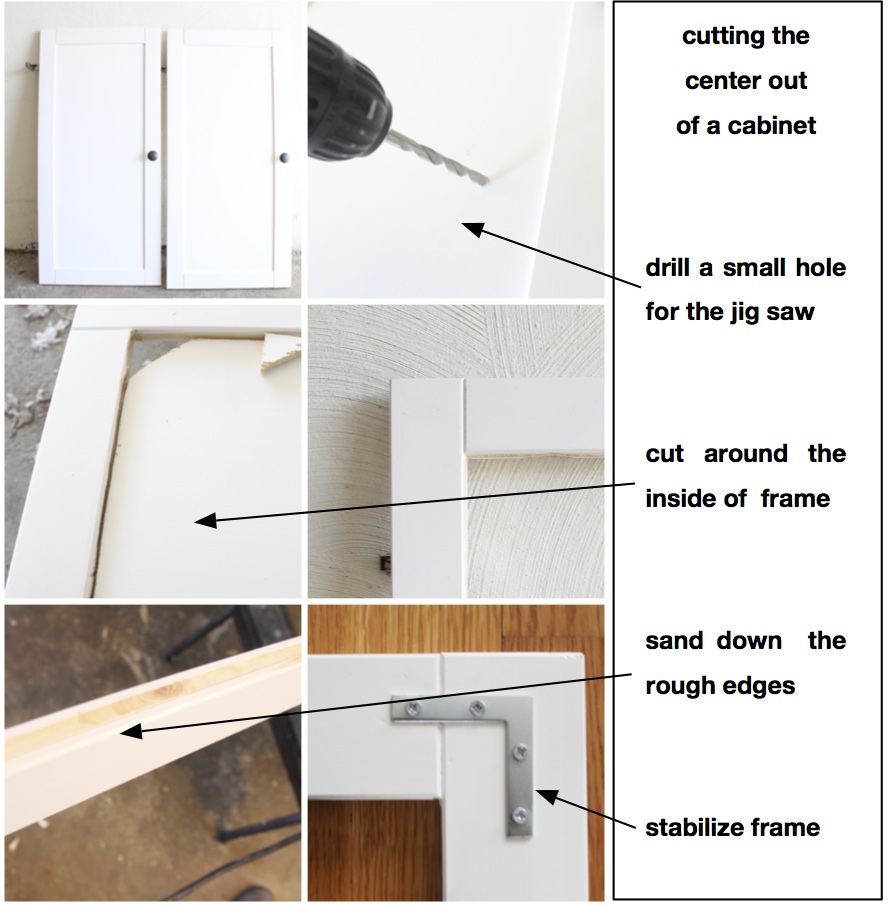
The scariest part of this project was cutting out the center of the cabinet doors, since there was no going back. I first drilled a hole large enough for the jig saw blade to fit into. I then went as close to the inner edge of the frame as possible and cut out the entire center. This was a quick and easy step since the center of the cabinet is extremely thin. Once the inside panel was removed I sanded down any rough edges. All of this would be hidden by the fretwork so I wasn’t too concerned with how it would look. For an extra weight precaution I stabilized each corner with a l-bracket on the back side of the door.
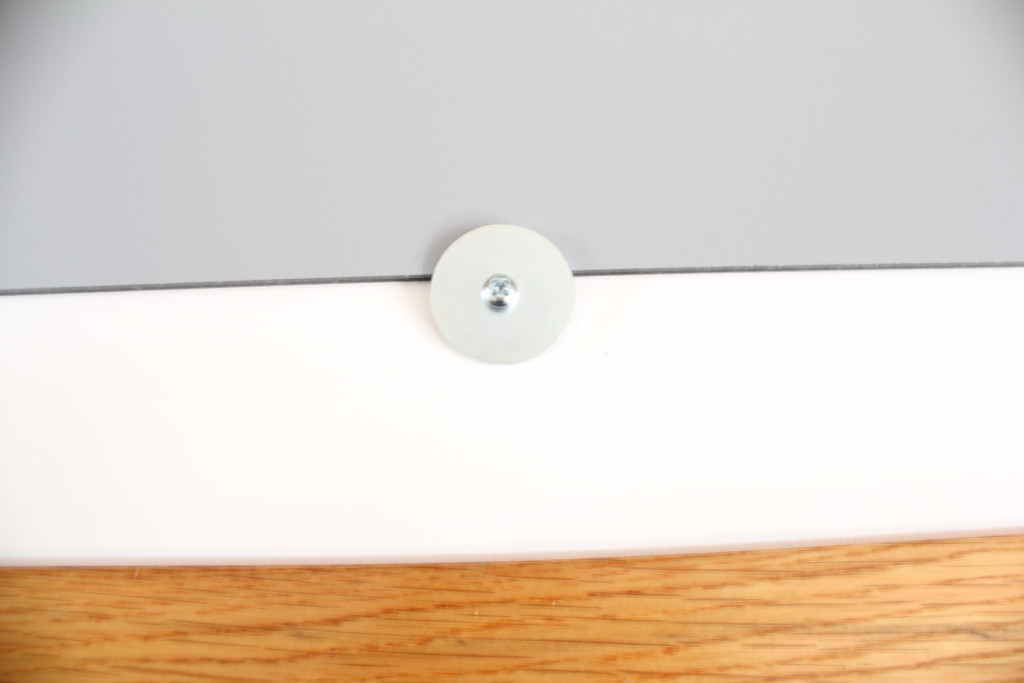
I then lined up my acrylic mirrors on the backside of each panel with the mirror facing the front of the panel. They attached pretty quickly using large washers. These will later get covered up with white spray paint to blend it. I probably added more washers than I needed to but I wanted this to be as solid as possible. These doors are opened and closed countless times during the day, and not always by adults!
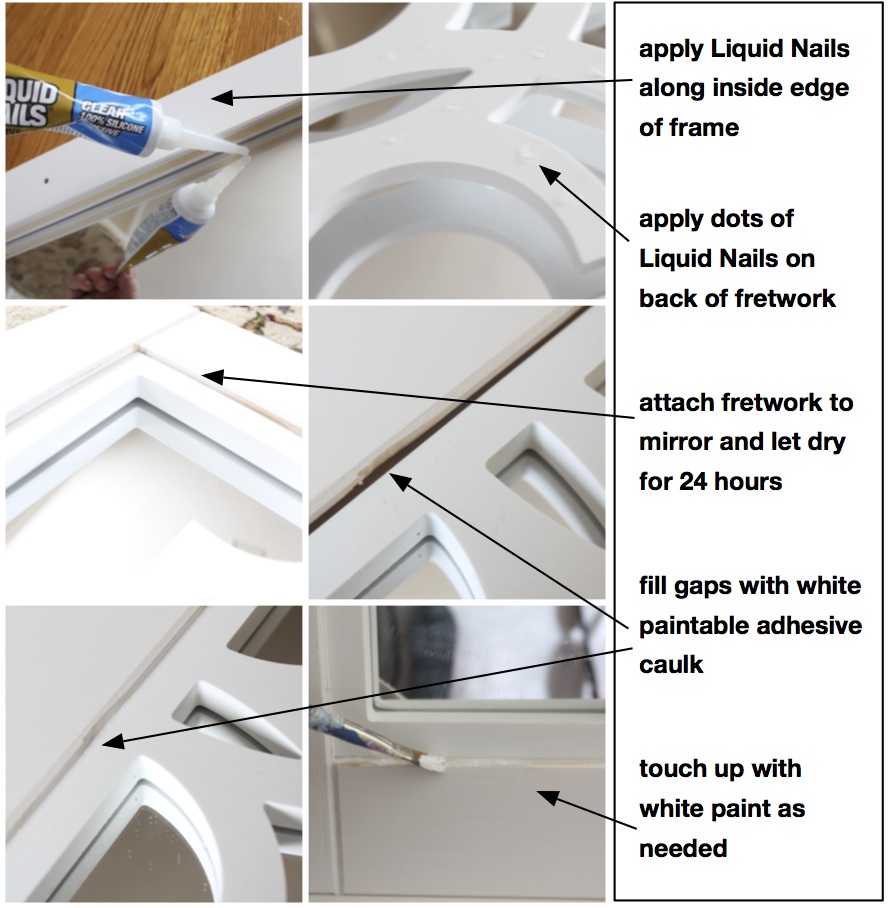
The fretwork was then attached to the mirror using Liquid Nails. Best stuff ever. I applied the glue all around the inner edge of the frame, right on top of the mirror. The outer edge of the fretwork would hide the glue but I tried to keep a neat and straight line. I also applied glue dots all along the back of the fretwork. The fretwork was then slipped into place and I let both panels dry for about 24 in a well ventilated area. The next day I filled in any of the gaps between the fretwork and the cabinet frame with white paintable adhesive caulk. The paintable part is important since the next step is to touch up any bare marks on the wooden frame left behind when I sanded them down. There were a few spots that quickly disappeared with the help of some white acrylic paint.
After the doors dried a bit I was able to reattach them to the desk. Some new hardware was added as well to lighten the whole look up. I chose glass knobs that wouldn’t distract the eye from the mirrored fretwork.
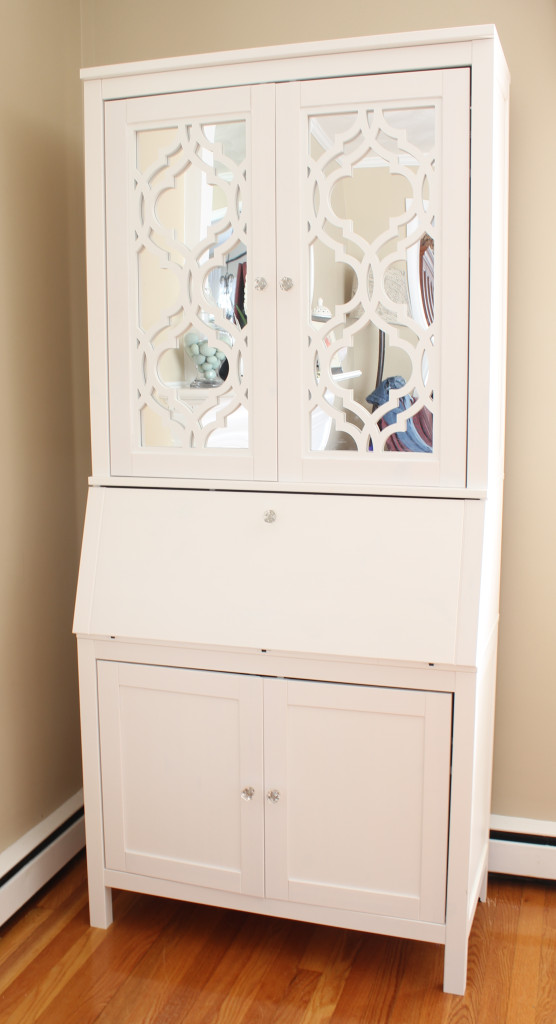
The great thing about a project like this is that I could have gone with any style fretwork that O’verlays had to offer. They have option ranging from modern to traditional to everything in between. I chose something based on my decor and personal style. The desk itself is basic enough which allows more freedom on the DIY end! If you’d like to try a project out using O’verlays panels they have generously offered you 15% a discount. Enter the coupon code no29design15 to apply the discount to your purchase!
Thanks to O’verlays for supplying the fretwork panels for this project.
Share this:

Subscribe to Posts
Thanks for subscribing!
A Little History
Blog Policies
For more information on all blog policies regarding comments, advertising, copyright, sponsored links, guest submissions, and other matters, please look here.
