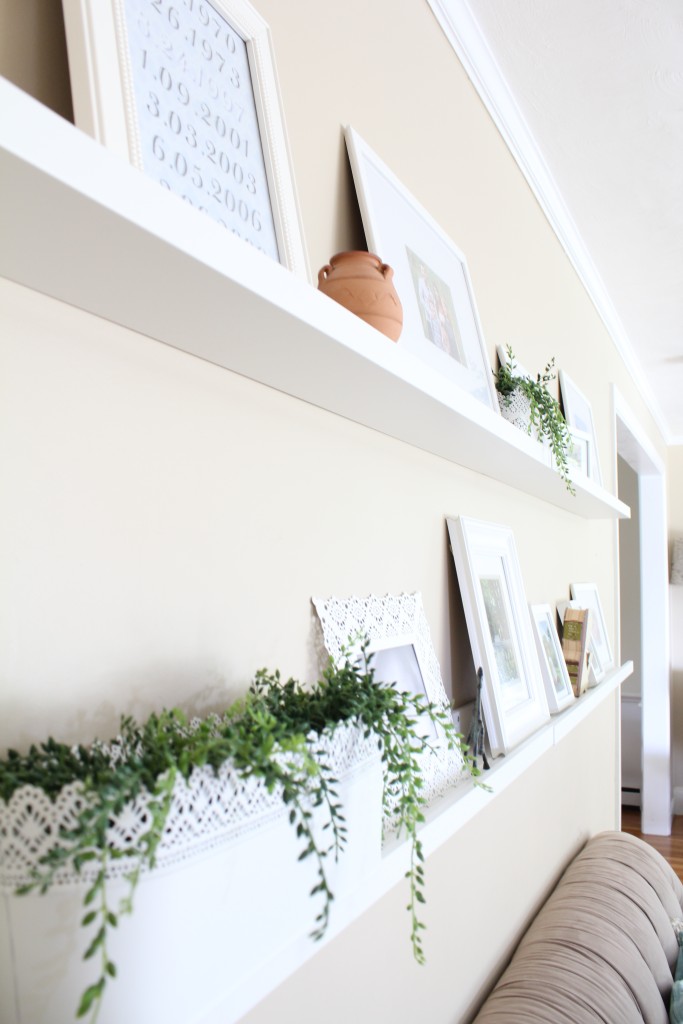
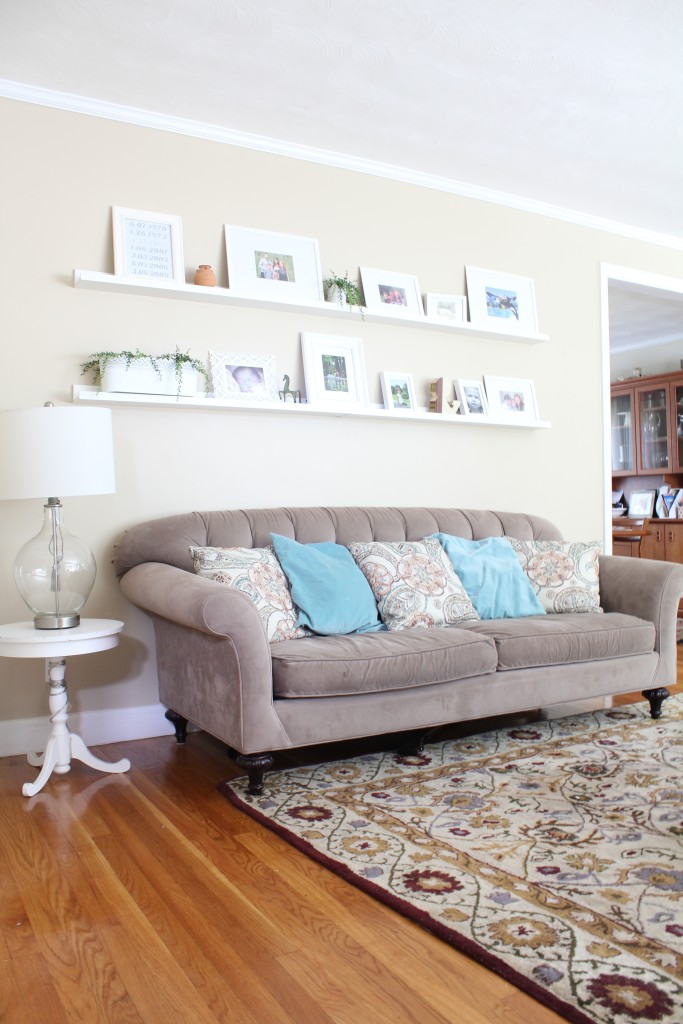
gallery wall shelves in the living room
It has been a while since my last post between a new job (I’m the content creator for Divine Design Center. Go take a peak!) , summer craziness and life in general. That does not mean that I haven’t been working behind the scenes since then of course. I always have a project going. If I don’t I get cranky and no one wants that. One project I worked on over the summer were gallery wall shelves in my living room. I’d been planning on doing this project for a while but it required a trip to IKEA which in itself took a while to happen.
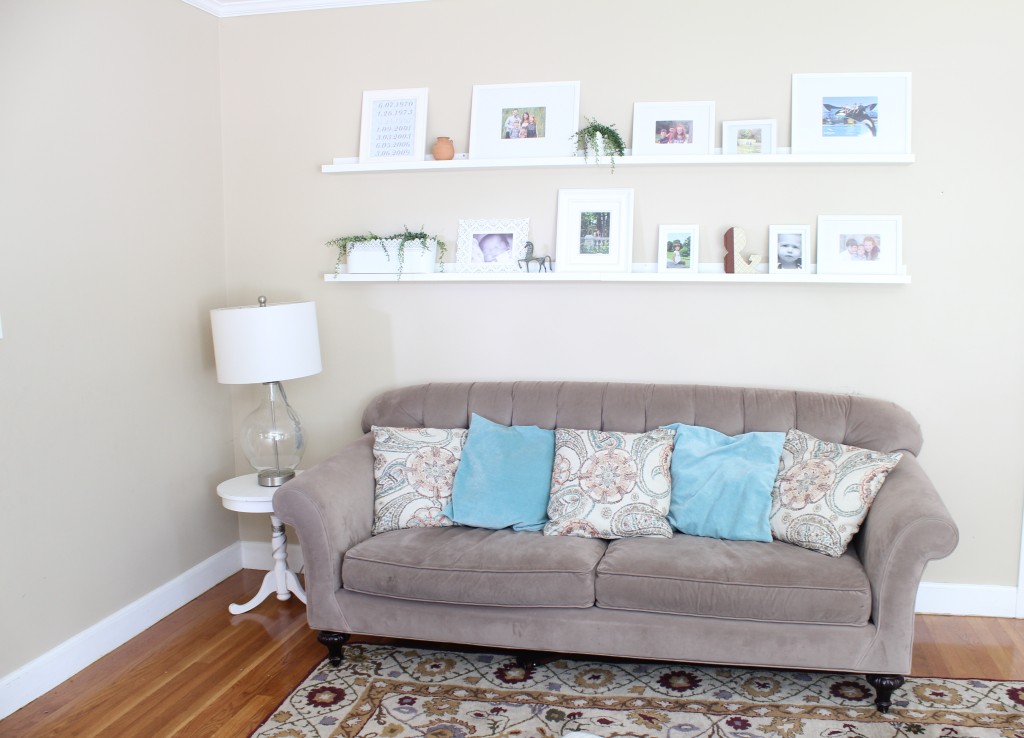
Above my sofa I had a big blank wall. It has sat that way since I took apart my tv armoire and turned it into my kitchen banquette. I had tried the gallery wall route in other rooms but never quite got the hang of it. I like changing things around so putting nails in the walls was just too permanent for me. Command strips do work but I wanted the ability to not just hang pictures but to display accessories as well. So I decided on gallery wall shelves. I browsed Pinterest for a while to see which heights and number of shelves I was drawn to. After decided on two rows of shelves I measured the length of the wall and then bought a total of 4 Mosslanda picture ledges from IKEA. I placed the bottom shelf 51 inches from the floor with a distance of 16 inches between the top of the sofa and bottom of the shelf. The top shelf is 68 inches from the floor. The depth of the shelves is the same as the depth of the back of the sofa. In other words we don’t hit our heads on the shelf when sitting down or getting up.
The shelves went up quickly once I centered them on the entire wall. Here is the before…
and after…
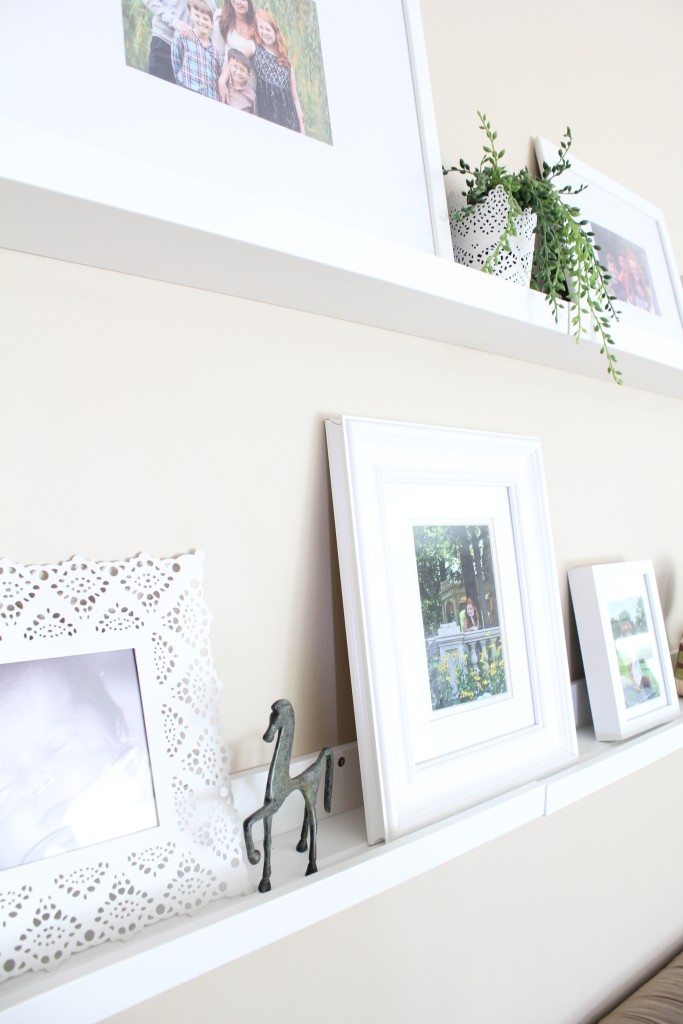
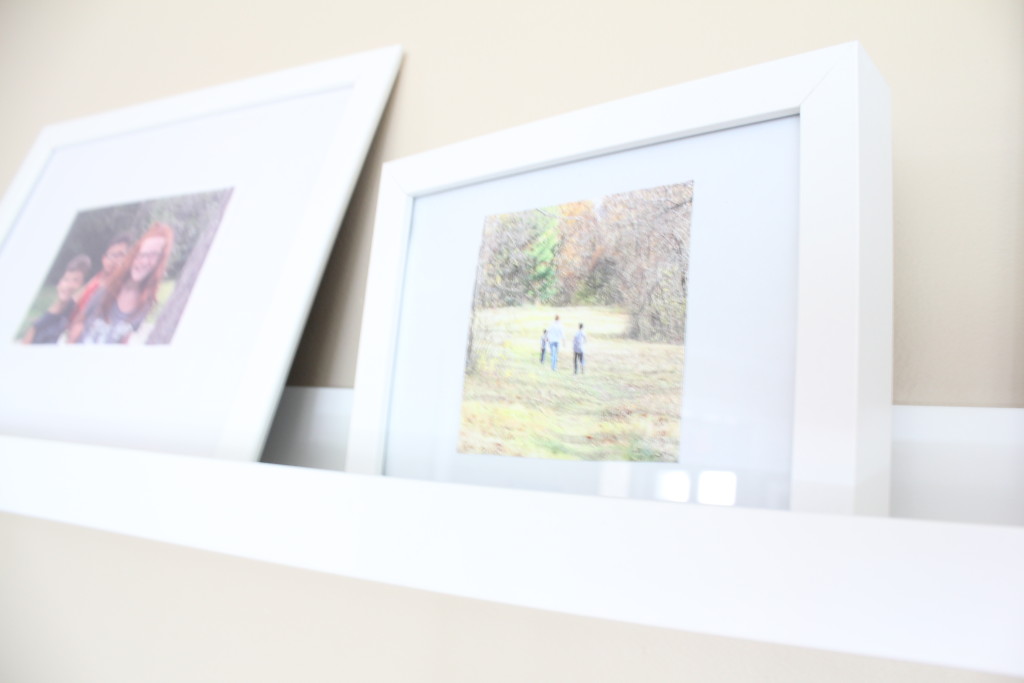
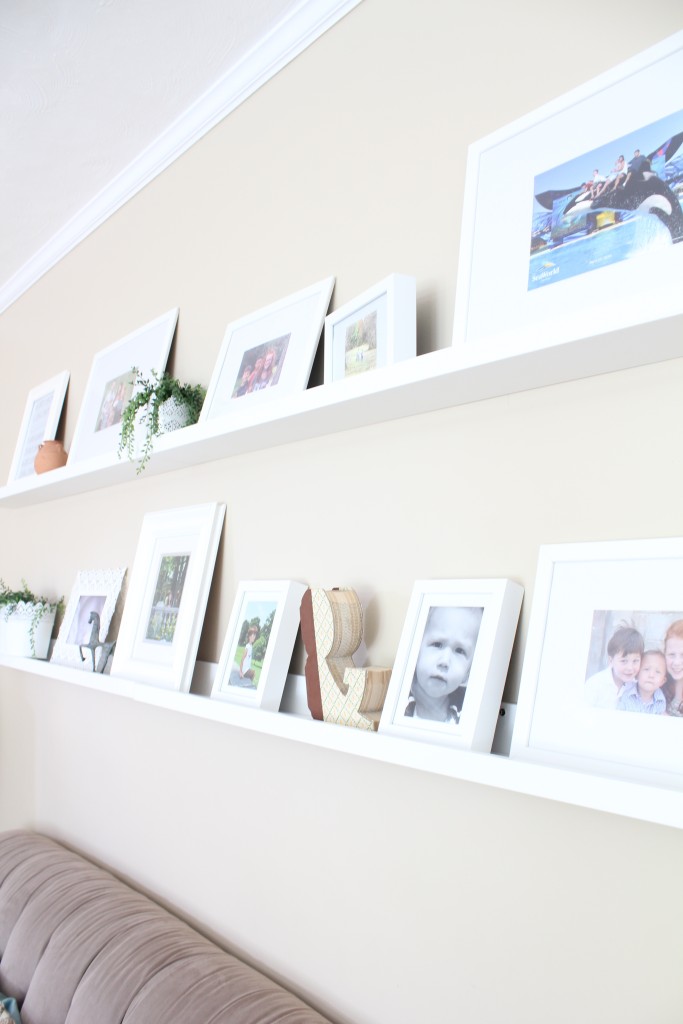
I now have two shelves each measuring about 90 inches wide. I filled them up with all white frames in various sizes and styles. I can easily swap in new pictures at any moment. I added in some accessories which I’ve changed a couple of times already.
I positioned the frames a couple different ways until I was happy with the balance of each shelf. I then added some personal items we’ve collected over the summer as well. This type of flexible decorating is right up my alley. Add some fresh flowers from outside. Place a card or drawing your little one just made for you. Display the latest Lego contraption or holiday decoration. This is going to be a fun areas to decorate around the holidays!
Share this:

Subscribe to Posts
Thanks for subscribing!
A Little History
Blog Policies
For more information on all blog policies regarding comments, advertising, copyright, sponsored links, guest submissions, and other matters, please look here.

