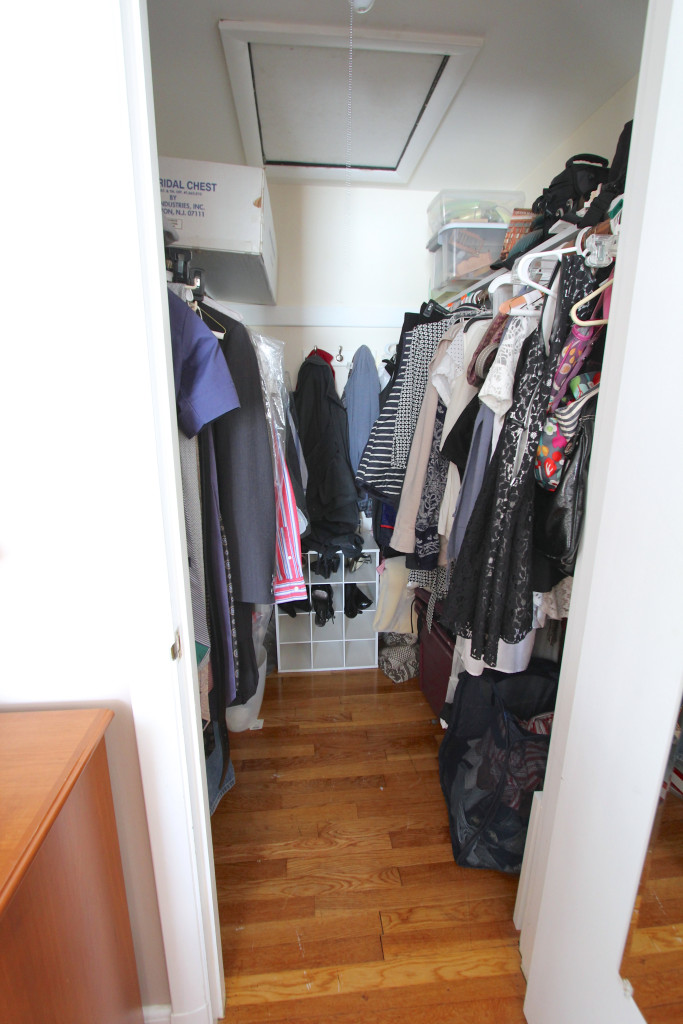
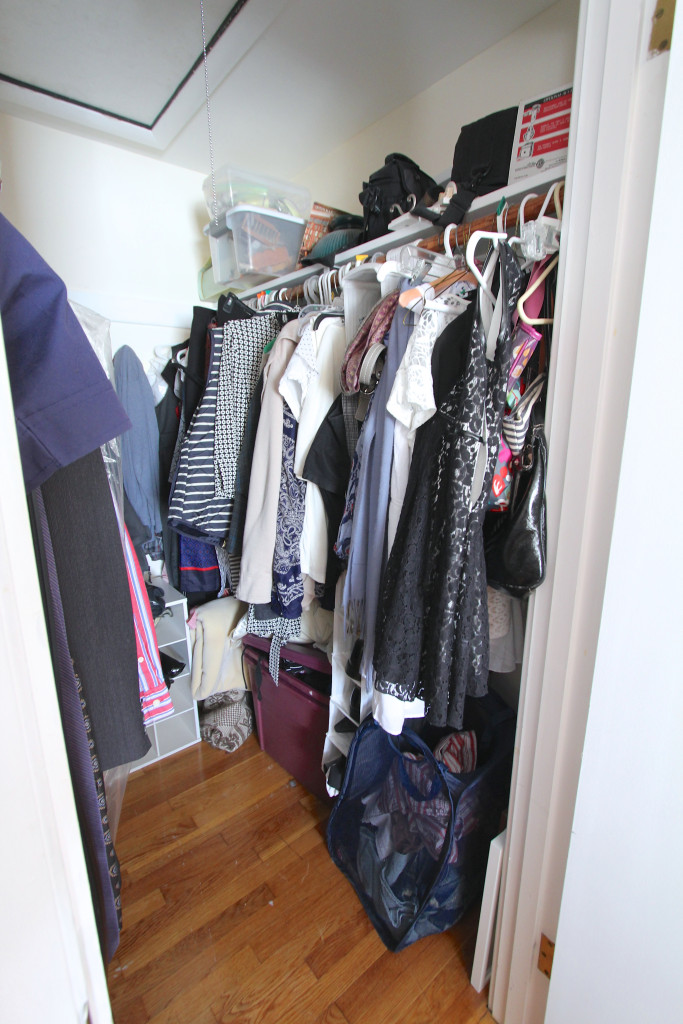
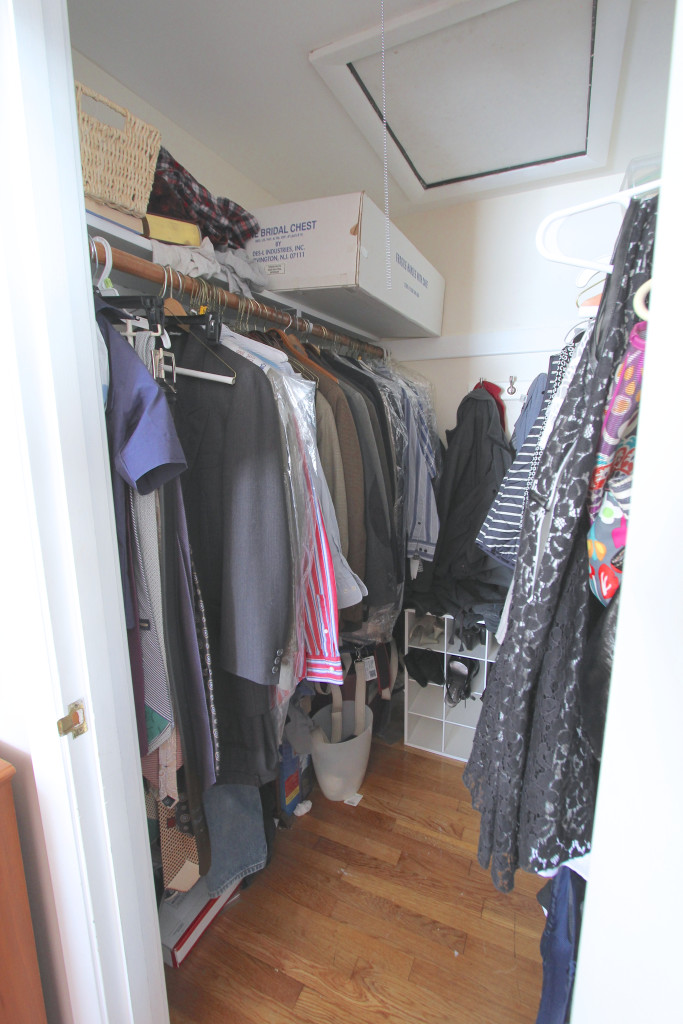
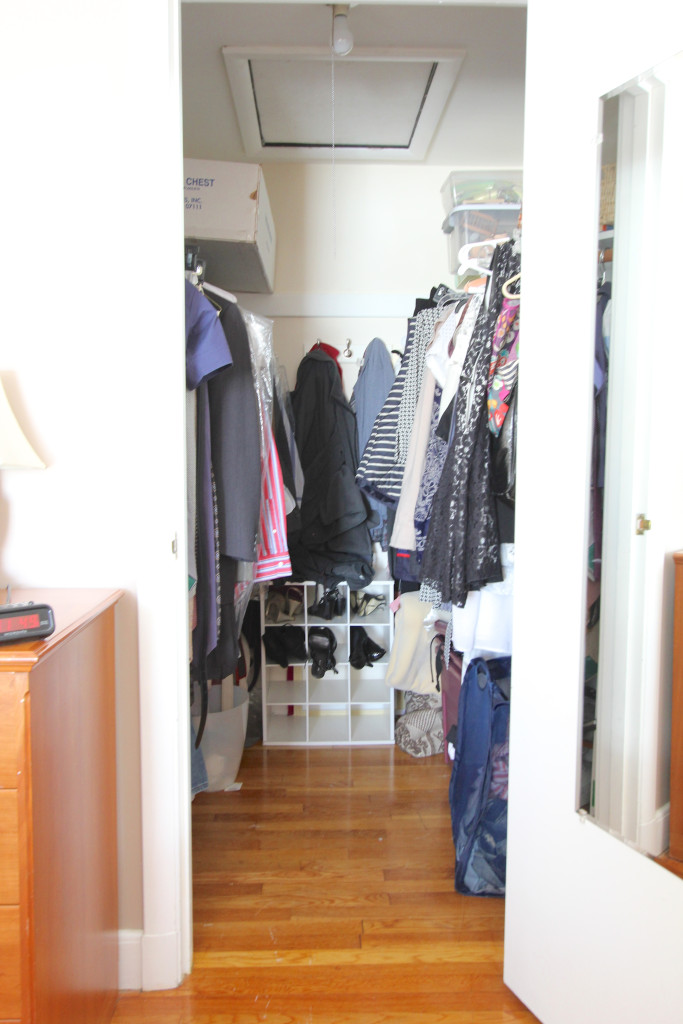
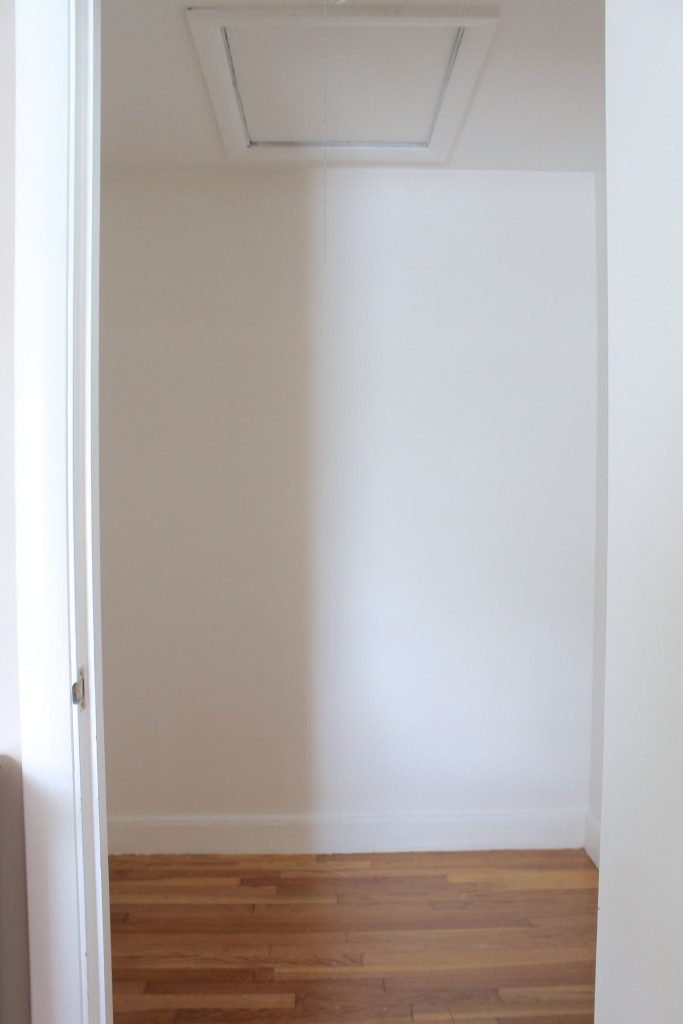
master bedroom closet; cleaned up, gutted and painted
I like showing my horrible before pictures. Not to freak anyone out or horrify my mother (again mom, so sorry for what you are about to see). I show them because many of you have these kinds of closets. The kind where you just throw things in there because no one will ever see the insides of your closet. But you do, every day. And after a while you wish it were a little neater, a little more organized or just plain nice to look at. Remember my front hall closet? It still looks the way it does when I reorganized it a month or two ago, so it does work!!
Now that you are visually prepared for what lies ahead, here is my master bedroom closet…
So this is actually a good day in the life of my closet. Typically there are items on the floor so that you can’t even walk in. Some of the items might be mine. Some might be my children’s since they have decided that if they don’t know where to put something or don’t want it in their rooms anymore they can just throw it in mom and dads closet. We are working on that. Basically picture Monica Geller’s closet. Google it if you have no idea what I’m talking about.
This closet was getting the typical closet treatment from me. It has a door, no one can see inside, I can create a mess in there. So I did. Now that I’m on my “organize my closets” kick I’m going all out on this one. It will be neat. It will be organized. It will be pleasing to look at. And it will stay that way!
So before all that good stuff has to happen it has to get even messier. Everything came out of there and was placed in storage closets, the trash or temporary storage in the guest room. As in the guest room bed is covered with clothing. It has actually been funny because my kids are confused as to why my husband is going to work in his “around the house” clothes. He stops off in the guest room and changes on his way in each day and throws them for a loop. So the guest room is a bit of a mess, and the master bedroom is also full of bins and boxes until this project is complete.
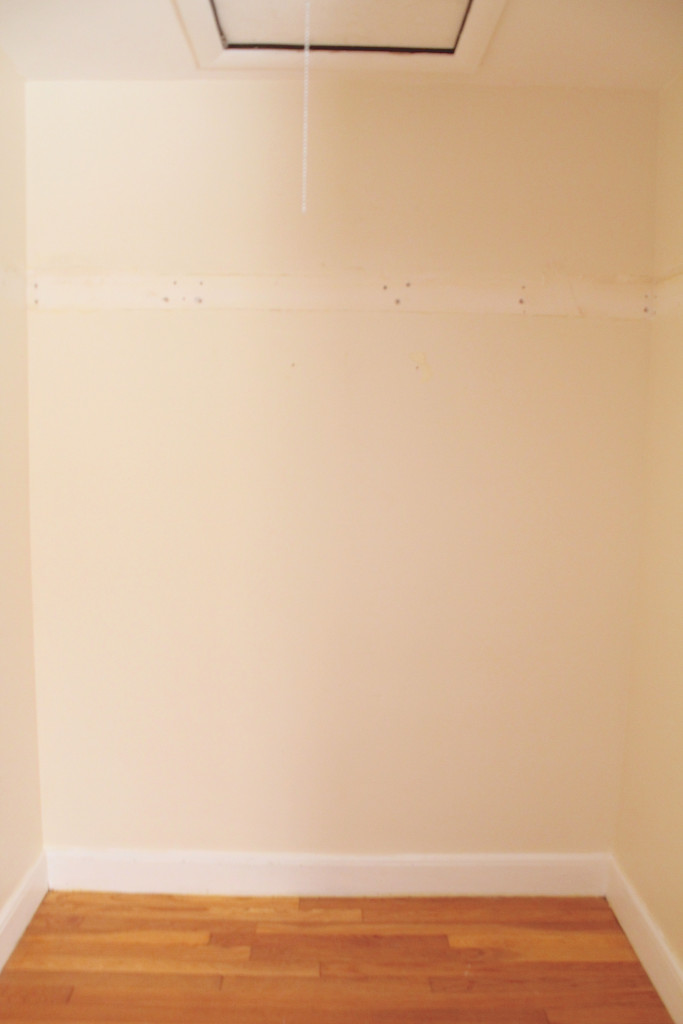
Once the closet was emptied I took down the closet rods on either side, the shelf on top of the closet rod and the wall moldings. Everything was off within about 30 minutes with the help of a crowbar. Here is the consolidated version …
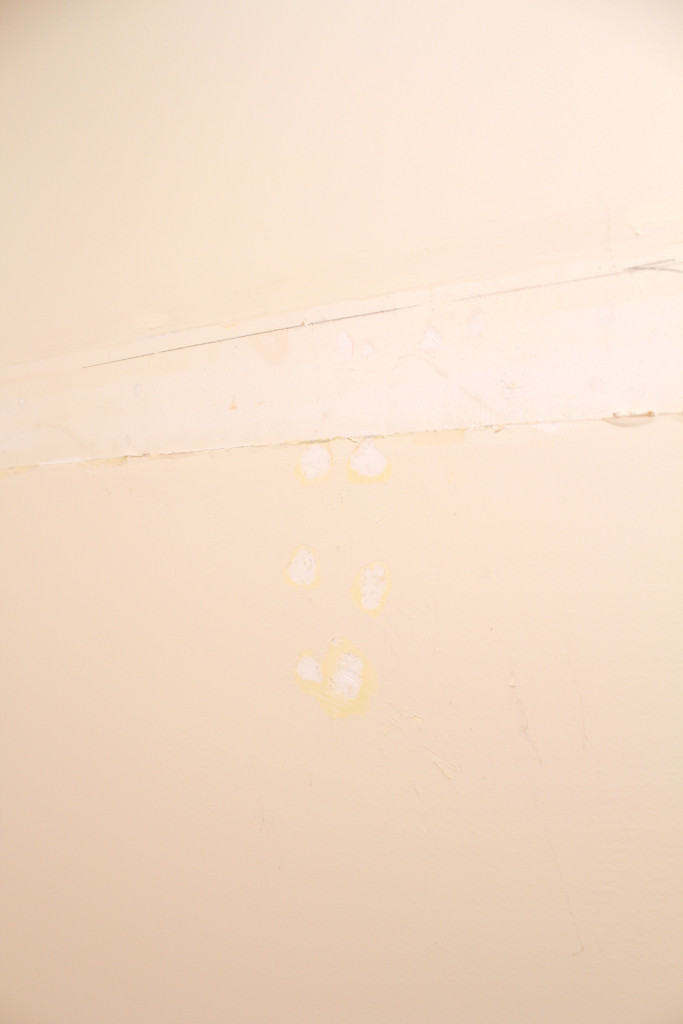
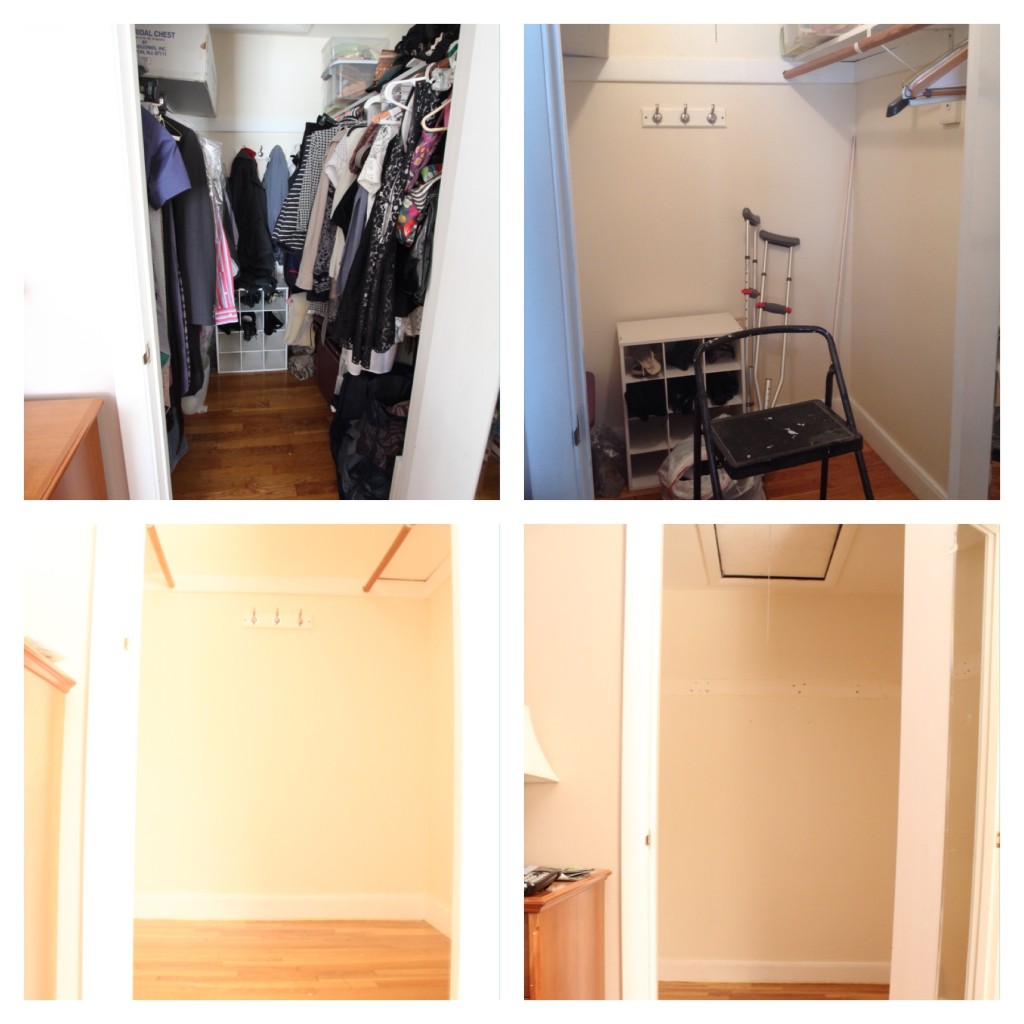 Once the closet was empty I filled in the holes left by the nails and screws with spackle. A quick drying time and then I sanded it all down.
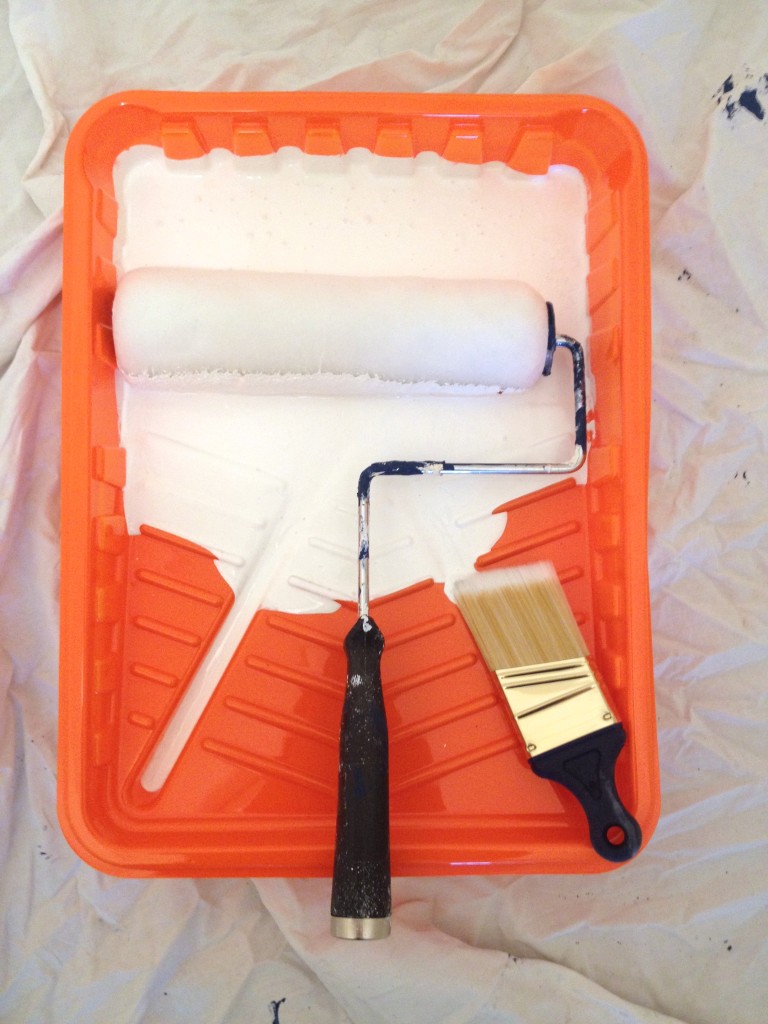
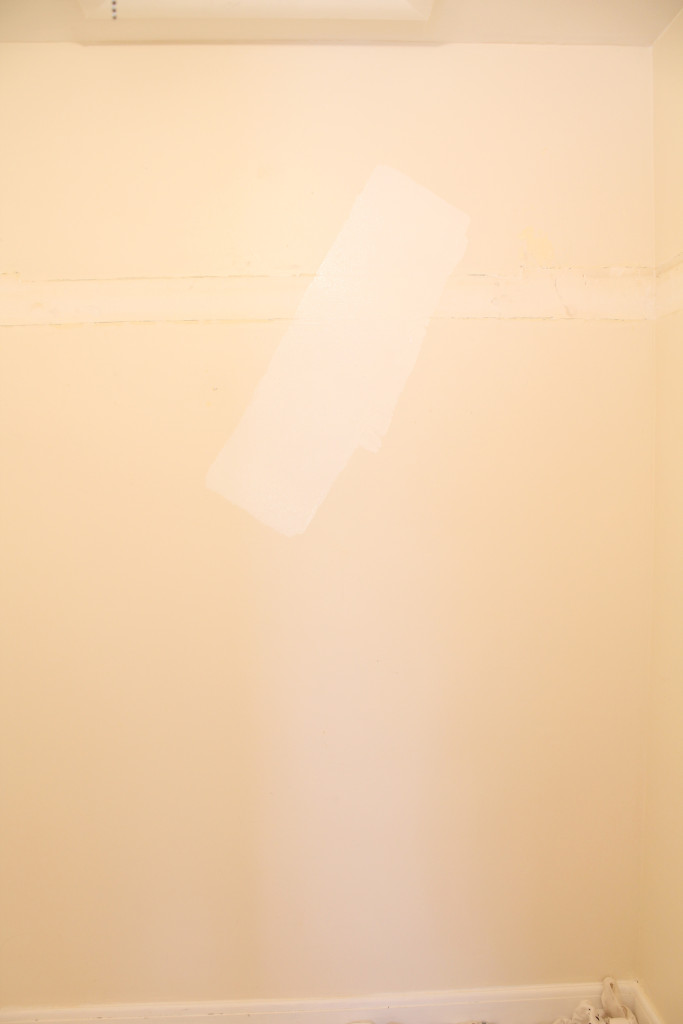
After it was dried, sanded and vacuumed (vacuuming before painting means not dust around to stick to your fresh paint!) it was time to paint. I went back and forth about painting this closet over since it was after all a closet. No one would really see it. Except me. And knowing myself, if I didn’t paint it I would eventually regret it. This means taking down the newly constructed closet and painting the walls and then putting it back up. Since I could see this happening I just painted it now to avoid any regret. I used Benjamin Moore Simply White which I had leftover from when I painted my kitchen. Since the walls were such a light color anyways I only needed one coat.
The difference might not be visible to some but it is much cleaner and fresher to me. I’m glad I went with my gut and did it. It makes for a much easier job now rather than a larger one later. I even ended up touching up the moldings and door to the attic. I’ll be sharing a moodboard of my closet a little later on and you’ll see why white works better!
So not that is has been deconstructed and painted it is time to build a closet!
Share this:

Subscribe to Posts
Thanks for subscribing!
A Little History
Blog Policies
For more information on all blog policies regarding comments, advertising, copyright, sponsored links, guest submissions, and other matters, please look here.
