the banquette bench {securing the back}
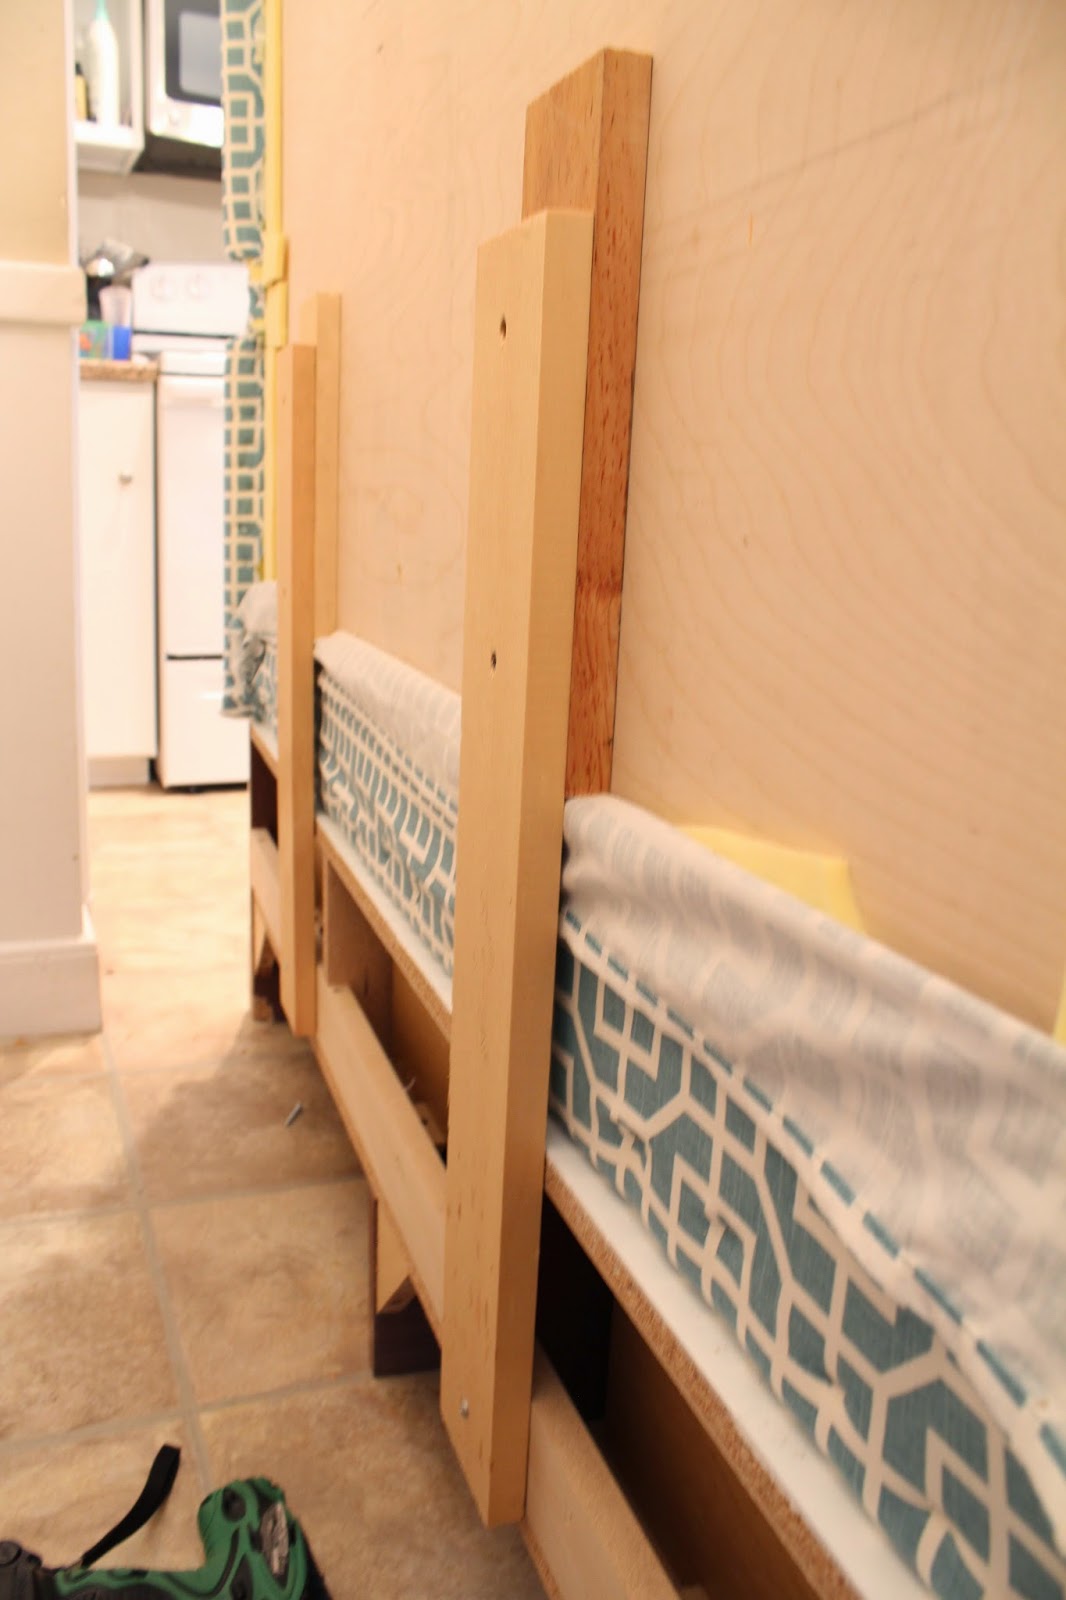
With the back of the bench upholstered it was time to attach it to the bench itself. It would then be attached to the wall as well for extra security. I started out with some small pieces of wood that were screwed into the back of the upholstered back. These would serve as connection pieces since the back had a frame around it which bumped out about one inch. Using these pieces allowed me to have both the upholstered back and the bench sit flush against the wall.
I then attached longer pieces on top of the smaller pieces, measuring carefully to make sure the longer pieces had enough room to attach to the back of the bench. They needed to extend about eight inches down since there was a support piece along the back of the bench eight inches down.
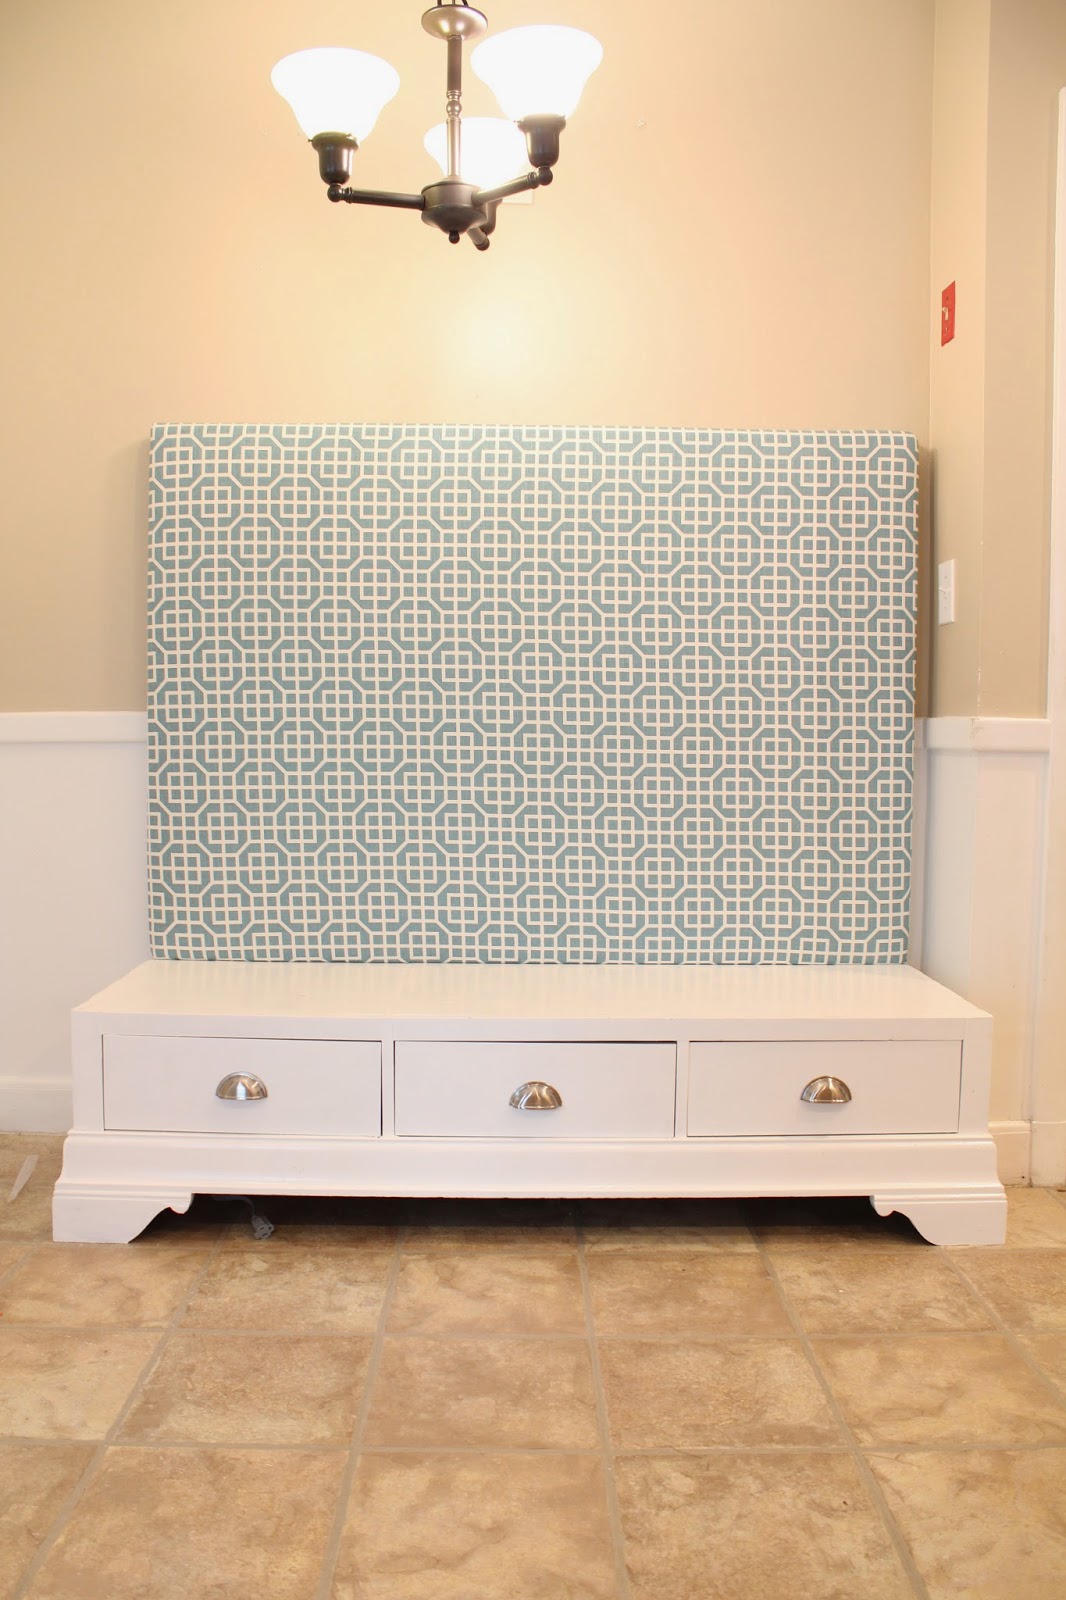
Once both pieces were secured the whole back was lifted up and lined up with the bench. Once it was centered correctly I screwed in the attached pieces on the upholstered back to the back of the bench itself. This part was a two person job.
Now the bench and the back were finally one large piece. The next step was to secure the top of the upholstered back to the wall. I measured down from the top of the back and attached a piece of wood to the studs on the wall. This would act as a cleat to hold up the upholstered back. I made sure it was level and centered within the bench back.
The bench and banquette was then placed against the wall. It fit snug right on top of the piece I had mounted to the wall. Four screws were then placed through the fabric every couple of inches to secure the back to the cleat on the wall. Small holes are visible but since the upholstered back is pretty high up this is not a concern.
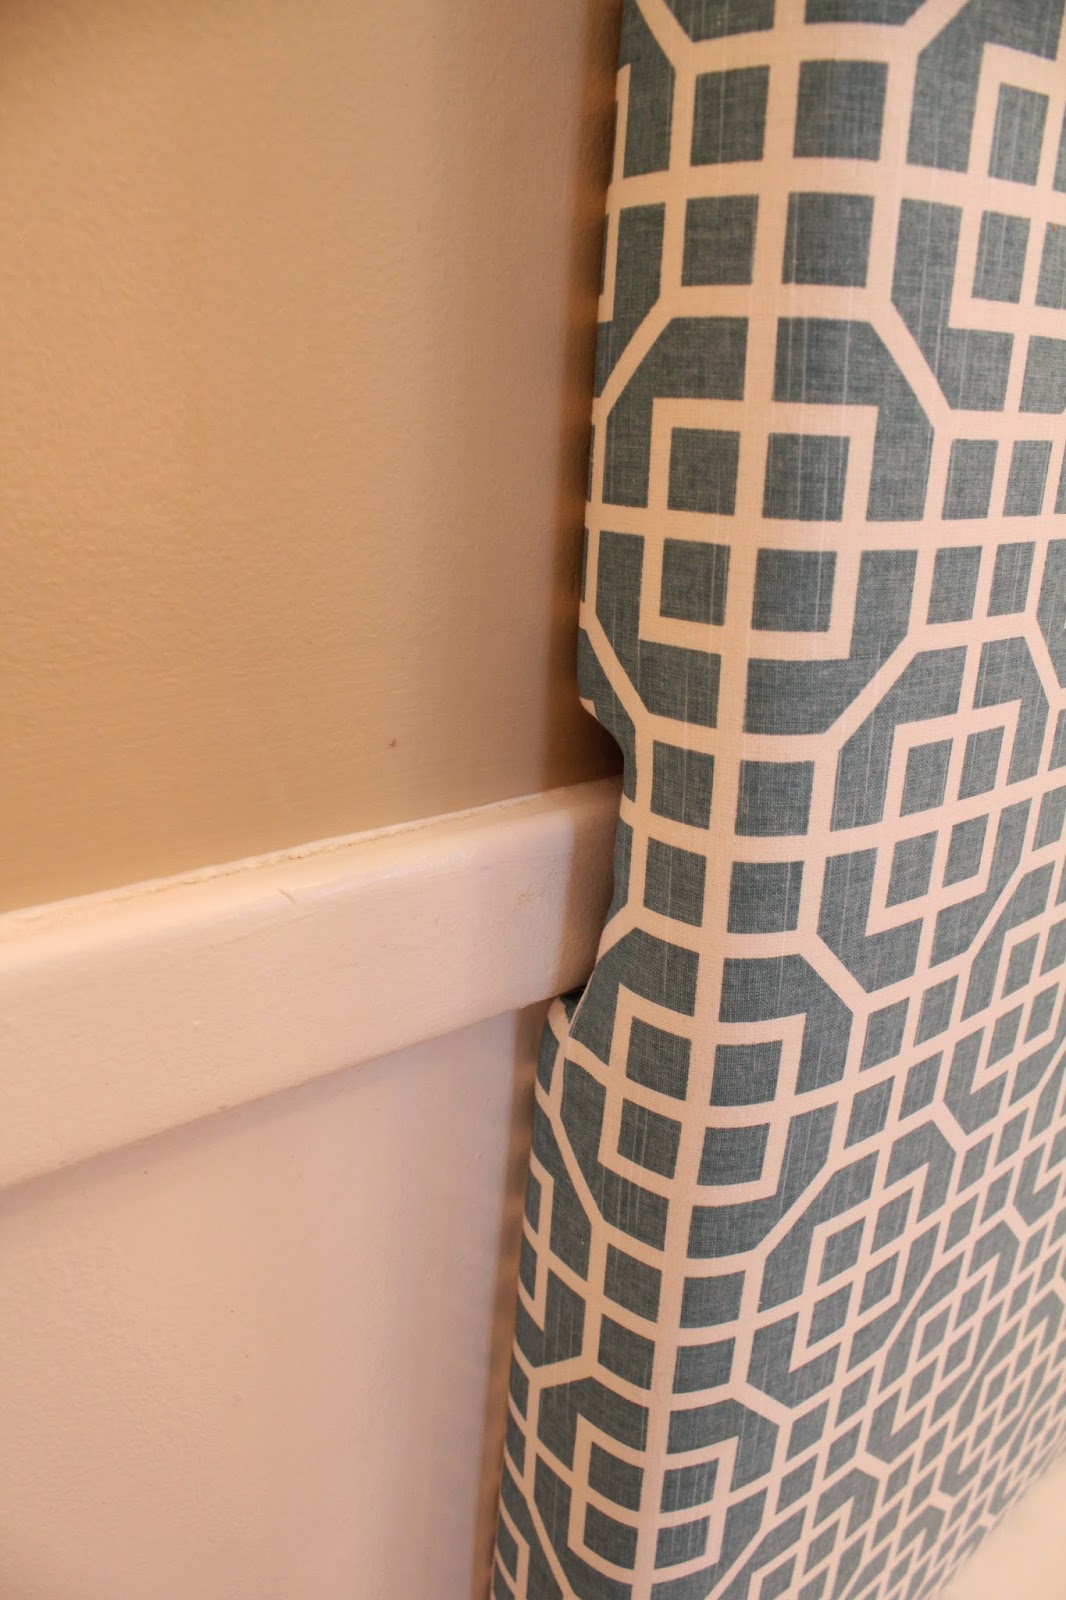
The chair rail issue worked out as well. The back fits right over it and is not noticeable at all.
There is no wobbling or shifting and the banquette bench feels very solid. The hideous outlets are gone as well!
The bench still needs a cushion but so far it is a hit.
Two out of three children highly recommend it.
Share this:

Subscribe to Posts
Please enter a valid email address.
Thanks for subscribing!
Something went wrong. Please check your entries and try again.
A Little History
Blog Policies
For more information on all blog policies regarding comments, advertising, copyright, sponsored links, guest submissions, and other matters, please look here.


